Introduction

Share our trials and tribulations as we build our new home - a custom Dominico by Fairmont Homes NSW

Showing posts with label Laundry. Show all posts

Saturday, December 29, 2012

All Locked-Up

Not surprisingly our hopes for Christmas in the new house came and went. But there has been progress…

Cabling complete and internal walls are up:

Balcony Roof Complete
Looking in from front door

Kitchen/Meals (How's that skylight!)

Kitchen/Meals


Niche for cabinetry in Formal Dining Room

Formal Living (pylons will have cabinetry between them)

Looking at Garage and under-stair storage from Formal Lounge

Our beautiful stairs!

Bulkhead in Study

Upstairs TV Room

Master Bedroom

Media Room door changed to a cavity-slider to allow the raised section at the rear to be larger and so that the door doesn't take up floor space:

Rear of Media Room (can see cavity for sliding door on the left)

Alfresco sliding doors rebated into slab, though they aren’t square:


Laundry drain box in, sink purchased and waterproofing completed:

Laundry Sink: Belle Bowl Laundry Trough 36L.


Laundry

Powder Room

Lock-up reached in the nick of time before Christmas:


Front door yet to be stained
Also, we had the tiles ordered and delivered the Thursday before Christmas (this was no mean feat and a big thank you has to go to Fairford Tiles and Fairmont Homes who helped ensure the tiles were delivered on time and put away inside the house quickly). This was done for the tilers who, we were told, are working through the industry-wide shut-down. As Mick and I both have the week after New Years off, we might pop and in and see if we can get a glimpse of the tilers and our tiles…

A few issues still to sort through:

  • -         Main bathroom vanity is wall-mounted (great way to create the illusion of space in a small room) BUT the waste is in the floor and now looking like it can’t be moved into the wall (our pesky raked ceiling causing us issues again). We have two options, change the vanity (have I mentioned how much we love that vanity?) or, put up with the waste pipe coming out from underneath the vanity into the floor. Mick did an inspection of the vanity (well, one similar in specs) at our local Reece showroom and has concluded that because the vanity is not too far off the floor it hopefully won’t look too bad as long as they use a small, shiny chrome pipe for the waste (anyone new to the blog and thinking of building, please don’t think for a second that building is without compromise):
Not our actual vanity, just similar height off floor


Not our actual vanity, just similar height off floor
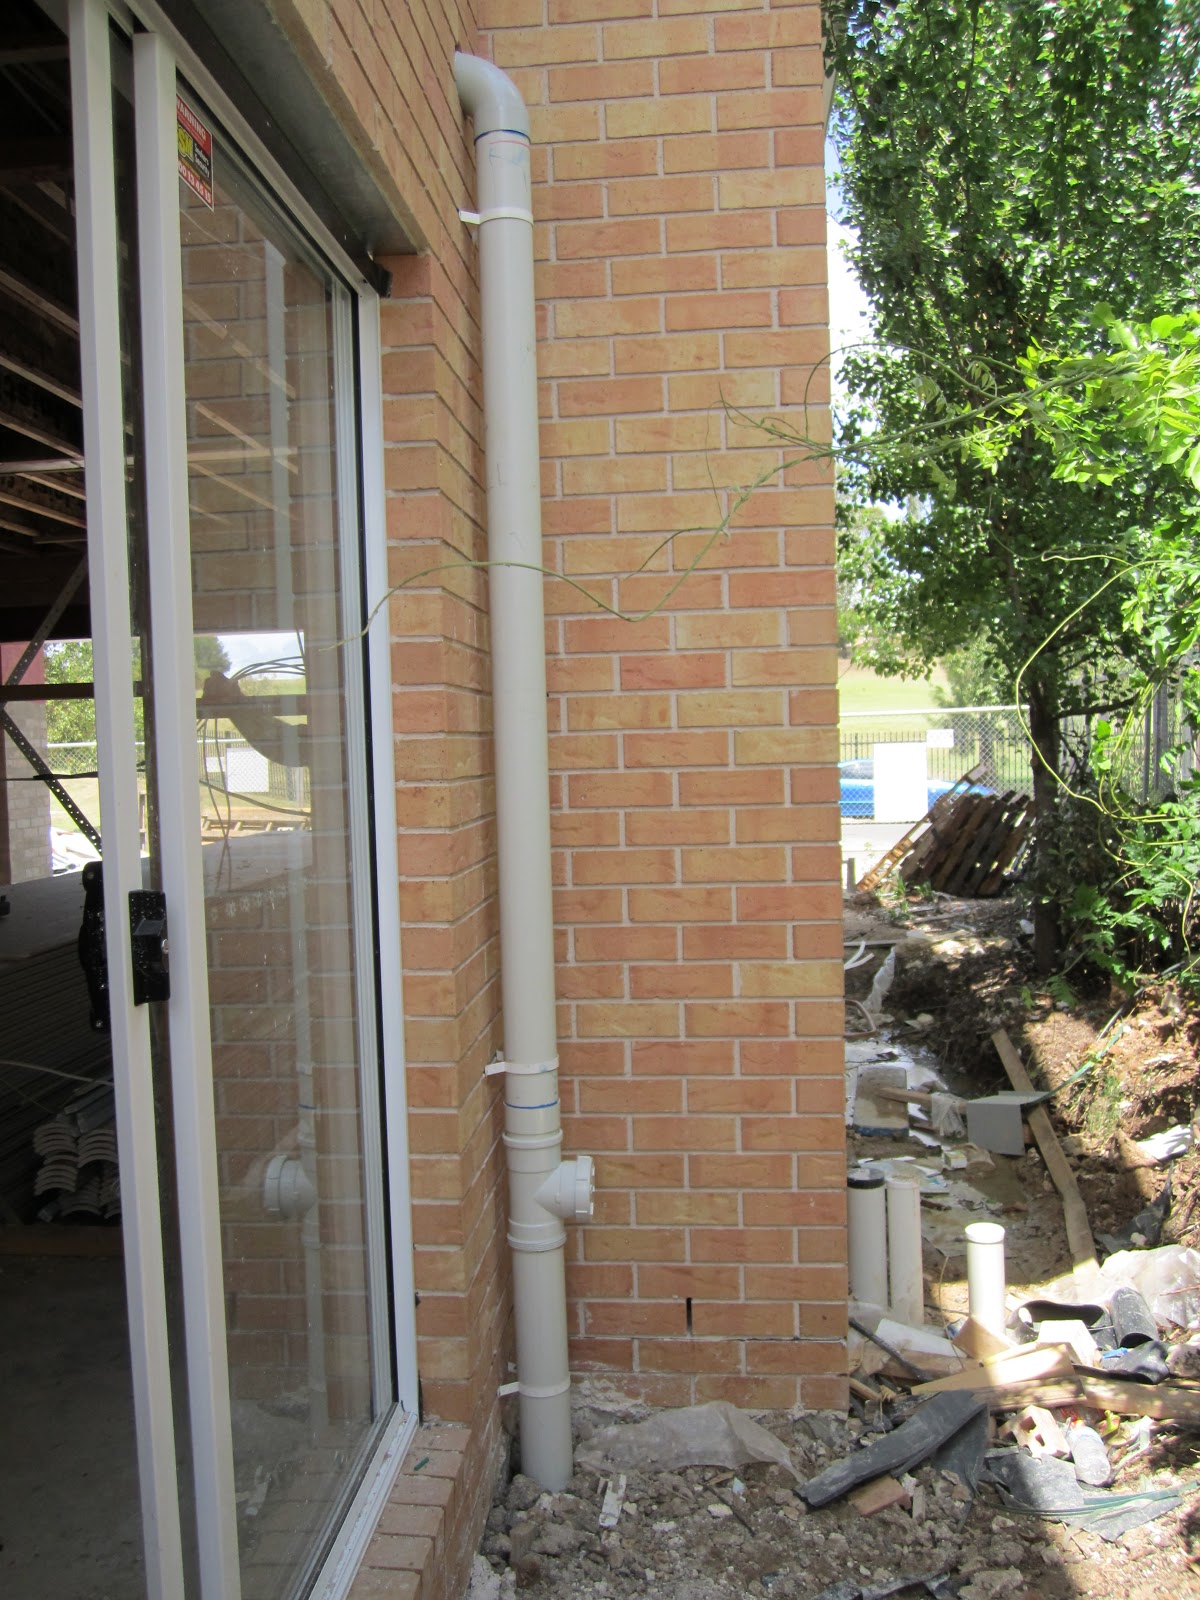
  • -          Holes in the external wall where our Hot Water system and pipes were removed need to be patched to stop rats setting up shop
  • -          Ducting in two wardrobes were gyprocked as if they are to be hidden inside the wardrobe behind doors though we requested they be fully walled off. Fairmont have just gone by the usual practice, however our wardrobes are so tiny (and ducts quite large as we have limited access to the section downstairs where the raked ceiling is) that the ducting and gyprock take up half the space. This creates disappointment when you then open the wardrobe and realise that one door is pointless as it simply opens onto wall. Might as well just wall the ducting off completely and have a single door for the wardrobe.
Wardrobe Bed 3

Wardrobe Bed 2
  • -          Pony wall, last we checked, hadn’t be removed which I sincerely hope was corrected before tiling began as that is an expensive re-do.
Pony wall on right to be removed (it was only added to allow somewhere to have a power point, but it turns out that it's against code as it's too close to bath, so we'd rather save tiling costs and open the space more). LOVE our niche above the bath.
  • -          Still waiting on a resolution for the front windows
  • -          Some windows, as mentioned before, still need to be replaced clear for opaque and vice versa
  • -          Need to order timber flooring and arrange installation, purchase lights and order laundry cabinetry


Though I was never really convinced that we would be in by Christmas, I did hope that we would be in in time to have our engagement party in our new house before our close friend moves to the UK early March. This will not happen as even if we manage to get keys in Feb (which we won’t), that is not enough time to complete landscaping and move in (driveway is needed for occupancy certificate). But, at least we should be in for Christmas next year…right?

Sunday, November 11, 2012

The Good, The Bad and The Ugly

Apologies for the overdue update, but as you can see even within this post, it has been an ongoing struggle for us with changes being made every five minutes! We're also planning our wedding, which has ramped up with the date being less than a year away now and our combined Engagement/Housewarming party currently planned for early March. But we'll continue to fight the good fight and keep you updated. 


The Good:

  • -       Scaffolding has come down and the exterior is (mostly) looking good:


  • -       Giprock arrived on site last week and is due to start soon


  • -       First rough-in of most trades done
  • -       Data-cabling done
  • -       Our air-con exchange unit can move next to the HWS, which frees up vital room down the side passage


  • -       Drain box was installed in the laundry


  • -       Powder room plumbing corrected


  • -   Balcony has a floor and (mostly) a roof


  • -       Waste water pipe moved from Study (Yippee!)


The Bad:

  • -       Air-conditioning: vents have not been installed as per the plans and can’t be due to direction of floor joists and raked ceiling /  ducting taking up valuable space in already tiny closets, or just badly positioned within the closets / no say was given to us before install of vents, ducts and controls (this debacle deserves its own post…stay tuned)
  • -       Positioning of some items are either incorrect or were installed without asking our input first. One such example (pictured below), is the alarm keypad (white cable) and video intercom (blue cable) which have been installed next to each other but on different walls. The video intercom location is where we specified, and allows for a consol table in the hallway. The alarm keypad was never mentioned to us, and is now inconveniently located (and must be moved):


  • -       Have I mentioned the struggle to get landscapers to quote the job? Even our landscape architect is finding it near impossible. We finally met with one on Saturday. They’ve promised to have a quote to us this week, but I’m not holding my breath. I’m also preparing for the worst, cost-wise.

The Ugly

  • -       Front windows as drawn in the plans don’t meed code (apparently double-hung windows on the second floor are a falling hazard for young children…makes sense, but would have been nice to know earlier, say, before replacements were installed). It wasn’t until the scaffolding came down that I noticed them, but now that I see them, I hate them. None of the sashes match in thickness and I hate the line that runs through the middle pane (the main reason we chose the other windows was to have one single, uninterrupted pane of glass).

It's hard to see in the pics, but none of the bars are the same thickness (because the lower part of the frame is a different window to the top section), and it doesn't look very good.


This is what we got

This is what we (now) want (originally there were only two sections either side of the centre panel)
Update: It's not looking possible to get the windows we're after (we may be playing a game of "imaginary window"). I'll keep you posted.
  • -       We can’t have our skylights *pauses to cry*. The reason, from what I can understand, is that the roofers and/or Fairmont didn’t take the skylights into account when designing the plans/roof. So, there is no flashing that exists (or can be made) that can be installed around the skylights in the position on the plans, due to the hips and valleys of the roof i.e. we could have the skylights…but they wouldn’t be water-tight. Our option is to have one smallish skylight, which I’m really unhappy with (pictured below). Plan B (which Fairmont is currently working on *fingers crossed*) is to install the largest skylight that can possibly fit. I’m trying to see the positives and be thankful that we can have a skylight at all, but this was THE favourite part of the house for me, the part I clung to when all else would go wrong. The space just suits two skylights in the size and location indicated on the plans *sigh* Let’s move on…
U Update: A skylight (not sure which one) was installed today. Stay tuned...

Fairmont's suggestion. We've asked for larger.

  • -       We’ve realised that the wall between the stairs and Bed 4 blocks light and the view. So, we’ve asked for it to be removed and balustrading installed there instead.
The wall with the red thing in front of it (currently covering the stair hole), is the one we want to remove.

  • -       Had I the time over again, I would have made the doors taller (especially downstairs).
  • -    The wardrobe in Bed 3 is very tiny, and now even tinier due to A/C ducting running through it (no choice there I'm afraid). It's 1.1m wide internally. To overcome this, we've asked for the triangular framing between the door and wardrobe to be removed so that we may install a built-in bookshelf after hand-over. This will at least add some interest and as well as storage.


  • - The views out of our fixed Media Room window and Formal Living area aren't ideal. I had thought that worst-case-scenario, they would look onto fence, and I could grow some manner of plant against them. However, because our house towers over the finished level of the soil, we will look over the fence at a rather ugly side of our neighbour's house i.e. pipes, fans and the like. In the Formal Living Room I'm content to install sheer drapes (as well as blockouts), but the fixed window in the Media Room really was a feature I was looking forward to, as you look straight at it from the Kitchen. There's not enough room or light to grow a plant to the required height as I first planned. So, my mind is currently thinking on options such as installing a very tall, thin feature of some description outside, or perhaps using a vinyl decal for the window...


I think it's too easy for tradesmen to forget that the buildings they're working on usually come with more than a financial commitment from the owner. They are people's homes, which makes the disappointment that much greater when expectations aren't met.

Wednesday, September 5, 2012

Locked Out :(

Normally posts about being locked out are followed by happy faces not sad faces, but ours is a sad face because it's not due to our house being at lock-up stage. Our builder has locked our fence...they say it's to stop thieves but in reality I think it's to keep us out! ;)

Anyway, that means I have no awesome photos of the house to show you. They've started the pilons for the balcony but that was the only discernable change and photos would have loocked uninspiring...plus we were on our motorbikes so it definitely wasn't worth the effort.

BUT we have been busy! We've been choosing flooring and tiling once and for all. We've gone with a solid timber floor in Kempas for the Entry, Hallway, Kitchen, Meals, Study and first half of Family/Media Room. We will be installing carpet for the Formal Living, stairs (except first tread), raised floor in Family/Media Room, and all of the upstairs (except wet areas). We're tiling the wet areas, porch and balcony. We'll be decking the Alfresco.

The carpet we like is by Mohawk and is called Cosy Comfort. It is inherently stain resistant i.e. the fibre itself is stain resistant not a coating such as scotch-guard. Plus it feels amazing. Even carpet that feels soft to walk on feels rough to touch but this stuff feels silky. We considered the Godfrey Hirst version Silk Touch, but for not much extra money the Mohawk carpet comes with better waranties and feels thicker (not sure it actually is, that's just what we felt). At first glance the Mohawk is a lot more expensive (only available through Harvey Norman), but we simply told Harvey Norman the price quoted us for the Godfrey Hirst carpet and they almost matched it. We've decided on a colour called Bare Essence (cream), and to get the textured carpet. It's a little shaggy (not quite like shag piles of old!) so a little less contemporary than a "flatter" carpet but it feels amazing and, we think, in a large area it won't look out of place. It will also help bring the carpet closer to the level of the solid timber. To help this even further, we will be having the ply-wood sub-floor, which is needed for the timber, installed everywhere on the ground floor so that the final levels aren't too different.

Some pics:

Solid Timber Kempas Floor Boards (running vertically)

 
Solid Timber Kempas Floor Boards (running vertically)

Mohawk Cosy Comfort 'Bare Essence'
Fairmont Homes NSW Display Home - Gregory Hills
Where you see tiling (above) will be timber (plus the first stair tread and handrails) and where you see carpet will be...carpet, but it will be cream, the timber warm reds, the main wall colour will be cream with a large reddish-brown feature wall, white trim and ceiling and a stained timber front door.

Now onto tiling, we really haven't deviated much from what we've chosen previously:

Ensuite: Floor-to-ceiling tiling (pictured below). The shower wall opposite the door from the bedroom will be a full feature wall of the mosaics (Adore 'night'). The rest of the walls (including the niche) will be 30cm x 20cm gloss white tile laid horizontally. The floor and shower bench will be 20cm x 20cm Enviro "Black Flint" tile. Also pictured is our vanity.


The Powder Room and Laundry will be the following 30cm x 30cm tile (I'll have to get back to you with the name). It looks a lot like Crema Marfield, and whilst not cheap, is not as expensive as stone! We will be having this tiled on the floor and walls: to 1.8m in the shower, one row above vanity and skirting to the rest. And possibly the laundry splashback...


The Main Bathroom will have the above tiled on the floor in the 30cm x 30cm tiles, but we will use the 60cm x 30cm tiles for the walls, which will be tiled floor-to-ceiling including niches and pony wall.

We went with the smaller (30x30) for the shower in the Powder Room because 30cm fits nicely into the 90cm shower stalls, whereas 60cm tiles would need to be cut. This isn't a problem for the Main Bathroom as it's being tiled throughout, and the shower stall is slightly larger than the Powder Room.

We're having the corners "piped" (not sure of the correct term) in polished chrome stripping (to match tapware).

It should look a little something like this (tap and pony wall included but no feature wall):


And, in my dream world are finished with accents in these colours:


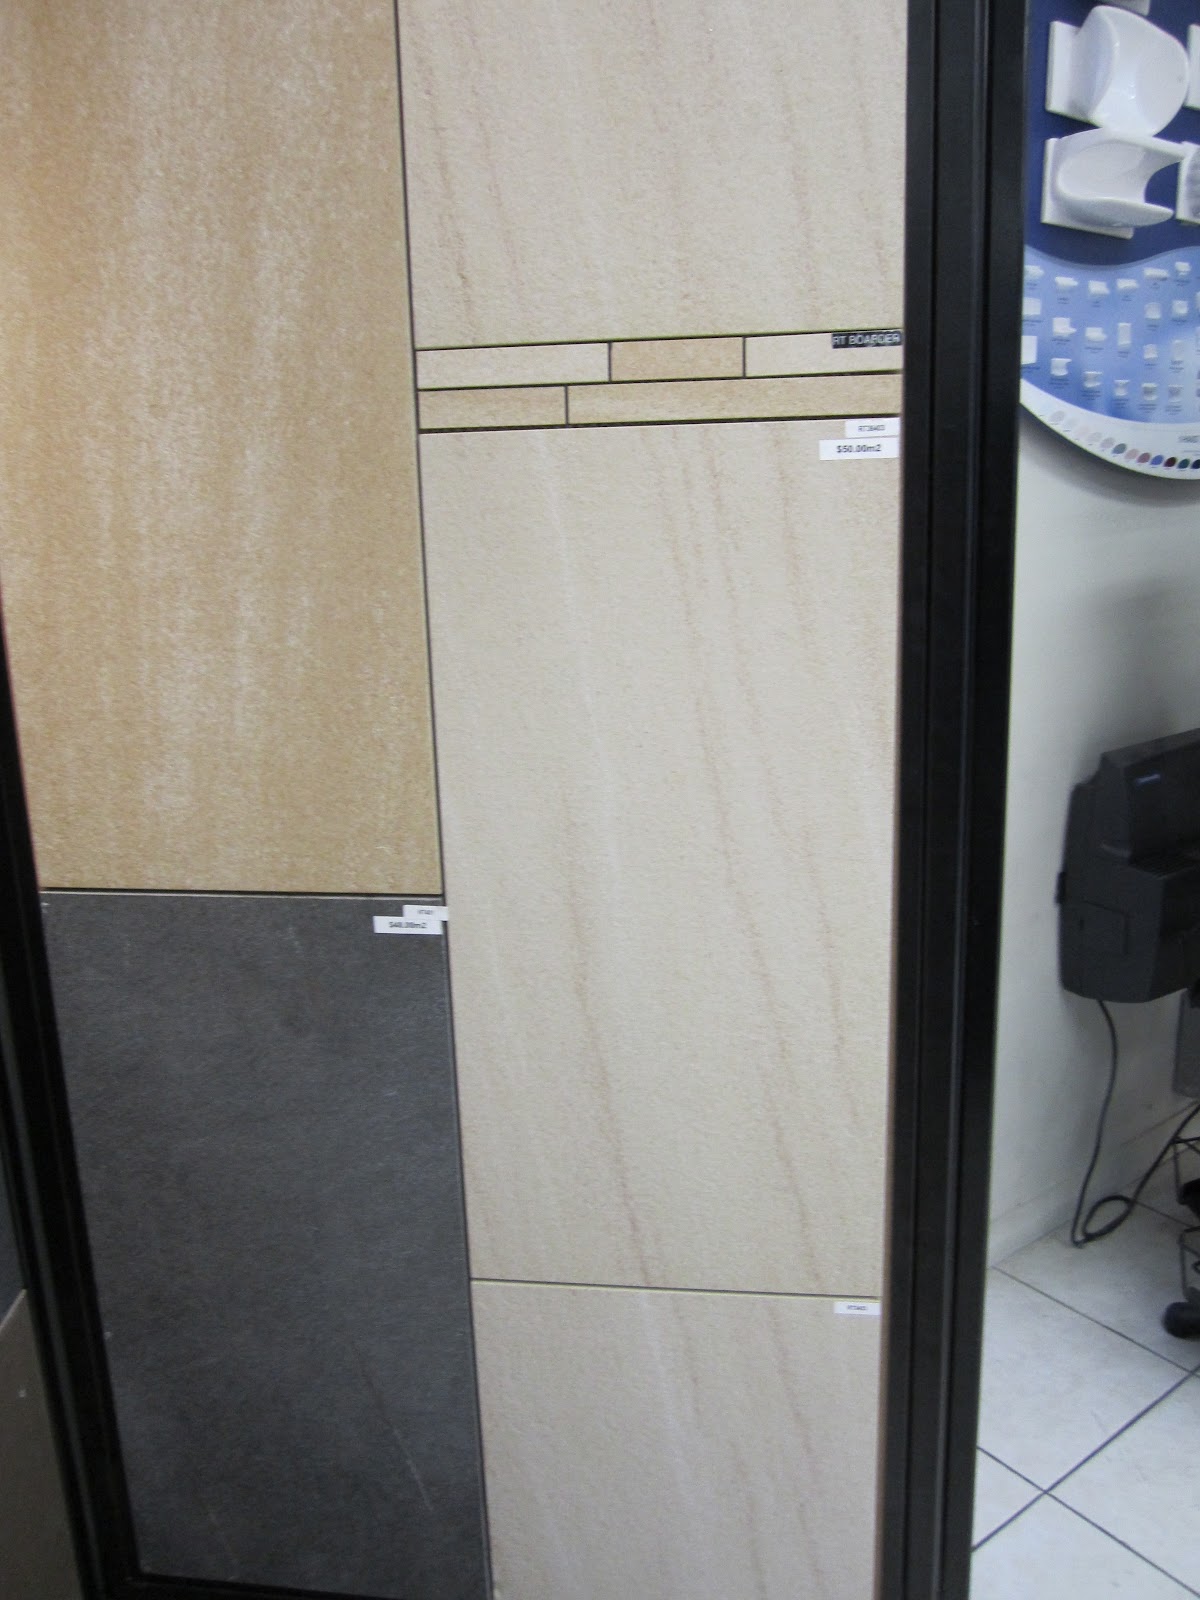
The last piece of the tile "puzzle" is the porch and balcony. We have decided on the following sand-stone-look tile. We feel it should complement the bricks as they are in the same "peaches and cream vein:

The tiles on the right are for the balcony and portico

For the balcony and portico

I think the timber, carpet and tile complement each other beautifully and they are quite timeless, even somwhat traditional (with the exception of the Ensuite, though black and white is always in fashion...in my book anyway). I can't wait to see them all installed!!